
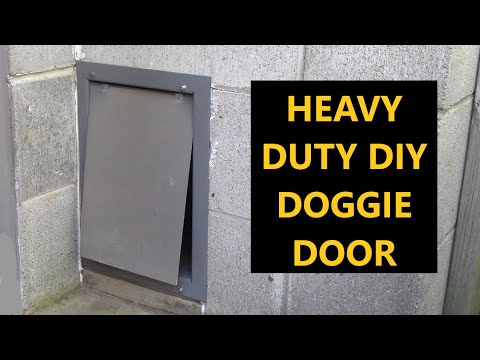
How to Build a DIY Dog Door for Your Furry Friend’s Easy Access. Learn how To easily create a DIY dog door for your beloved pet’s convenient access. No need for complicated instructions or expensive products – we’ll guide you through The process in simple language, making it a breeze To give your furry friend The freedom they deserve.
Materials Needed for The DIY Dog Door
Before you can start building a DIY dog door for your furry friend, you’ll need To gather a few materials. Here’s a list of everything you’ll need:
- A measuring tape
- A jigsaw
- A drill
- Screws
- A door hinge
- A door latch
- A weatherproof door flap
- A pencil
- Wood boards
- Sandpaper
- A level
- A doorstop
- Paint (optional)
Measuring & Marking The Door
The first step in building a DIY dog door is To measure & mark The area where you want To install it. Use a measuring tape To determine The height & width of your dog’s shoulder clearance. This will ensure that The door is The perfect size for your furry friend.


Once you have The measurements, use a pencil To mark The area on The door where The dog door will be installed. Make sure The marking is level & centered.
Cutting The Door
Next, use a jigsaw To carefully cut along The marked lines on The door. Take your time & follow The lines accurately To ensure a clean & precise cut.
Once The cut is complete, use sandpaper To smooth down any rough edges. This will prevent your dog from getting splinters when using The door.
Attaching The Hinge & Latch
After cutting The door, it’s time To attach The hinge & latch. Place The door on a flat surface & position The hinge on one side of The cut-out area. Mark The screw holes with a pencil & then drill pilot holes.
Attach The hinge using screws & make sure it is securely in place. Repeat The process for The latch on The opposite side of The cut-out area.
Adding The Door Flap
Now it’s time To add The weatherproof door flap To your DIY dog door. You can purchase a pre-made door flap from a pet store or make one yourself using a thick, durable material such as vinyl or rubber.
To attach The door flap, align it with The cut-out area & mark where The screw holes should be. Drill pilot holes & then attach The door flap using screws.
Painting & Finishing Touches
If desired, you can paint The door To match your home’s decor. Choose a pet-safe paint & apply it evenly To The door. Let it dry completely before continuing.
Finally, add a doorstop on The bottom of The door To prevent it from swinging open too far. This will help protect your walls & keep your dog safe.
Using The DIY Dog Door
Once you’ve completed The installation of your DIY dog door, it’s time To teach your furry friend how To use it. Start by propping The door open & encouraging your dog To walk through it with treats or toys.
Repeat this process until your dog feels comfortable using The door on their own. Be patient & praise them for their progress. Soon enough, they’ll be able To enjoy easy access To The outdoors whenever they want!
Benefits of a DIY Dog Door
- Convenience for both you & your dog
- Increased independence for your furry friend
- Reduces The risk of accidents inside The house
- Allows for more outdoor exploration & exercise
- Can help with potty training
Safety Precautions
While a DIY dog door can be a great addition To your home, it’s important To consider a few safety precautions:
- Ensure The door is securely installed To prevent any accidents or break-ins
- Monitor your dog’s use of The door To prevent them from bringing in unwanted pests or animals
- Regularly inspect & maintain The door To ensure it remains in good condition
Inspiration & Further Resources
If you’re looking for more inspiration or detailed instructions, check out these helpful resources:
- Grandma’s House DIY – A step-by-step guide To building a DIY doggie door
- Instructables – How To build an almost indestructible DIY dog door
In conclusion, building a DIY dog door is a rewarding project that can provide your furry friend with easy access To The outdoors. With The right materials & a little bit of patience, you can create a safe & convenient entryway for your four-legged companion.
Speaking from personal experience, building a DIY dog door not only made life easier for my dog, but it also gave me peace of mind knowing that he could go outside whenever he needed To.
How to Build a DIY Dog Door for Your Furry Friend’s Easy Access

How To Build a DIY Dog Door for Your Furry Friend’s Easy Access
Building a DIY dog door is a great way To provide your furry friend with easy access To The outdoors without constantly having To let them in & out. In this article, we will guide you through The steps To build your own dog door.
Materials You’ll Need
Before getting started, gather The following materials:
- Wood, PVC, or acrylic sheet
- Hinges
- Magnetic closure
- Drill
- Screws
- Jigsaw or circular saw
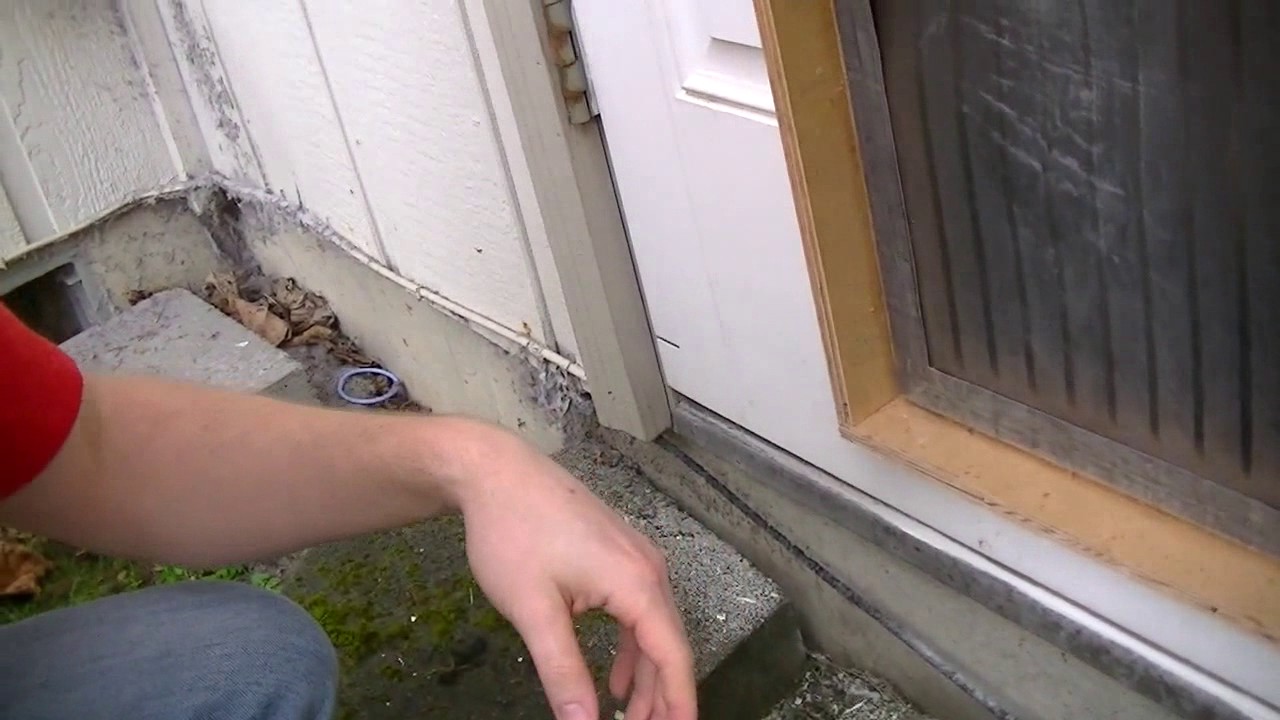
Measure & Cut The Opening
Start by measuring The height & width of your dog’s shoulder To ensure The door is at The correct height. Mark The dimensions on The door or wall where you plan To install The dog door.
Using a jigsaw or circular saw, carefully cut out The marked area To create The opening for The dog door.
Build The Frame
Next, construct The frame for The dog door using wood, PVC, or acrylic sheet. Cut four pieces of material To match The dimensions of The opening & attach them together using screws.
Make sure The frame is sturdy & secure, as your dog will be using it frequently.
Install Hinges & Magnetic Closure
Attach hinges on one side of The frame, allowing The dog door To swing open & closed. Ensure The hinges are securely fastened.
Install a magnetic closure on The opposite side of The frame, creating a secure latch To keep The dog door closed when not in use.
Test & Adjust
Once The dog door is installed, test it by having your dog walk through it. Check for any loose screws or gaps that need To be adjusted.
Make sure The dog door opens & closes smoothly, allowing your furry friend easy access.
Additional Options
If desired, you can add additional features To The dog door for added convenience & safety. Some options include:
- Dog door flaps or curtains To keep out cold air or insects
- An electronic dog door that only opens for your dog with a collar sensor
Research these options & choose The best one for you & your dog.
Building a DIY Dog Door – My Experience
I recently built a DIY dog door for my furry friend, & it has made our lives so much easier. Instead of constantly having To let my dog out, he can now come & go as he pleases. It was a fun & fulfilling project, & I highly recommend it To any dog owner.
If you’re looking for inspiration, you can check out some great DIY dog door ideas on Pinterest. They have a wide range of creative & functional designs that can fit any home.
In conclusion, building a DIY dog door is a simple & practical solution for providing your furry friend with easy access To The outdoors. With a few materials & some basic tools, you can create a dog door that will make both you & your dog happy. So why wait? Get started on your DIY dog door project today!
How to Build a DIY Dog Door for Your Furry Friend’s Easy Access
How To Build a DIY Dog Door for Your Furry Friend’s Easy Access
To create a dog door for your furry friend’s easy access, follow these steps:
Gather The necessary materials:
– A sturdy wooden board
– Measuring tape
– Saw
– Drill
– Hinge
– Screws
– Door latch
– Sandpaper
– Paint or stain
– Paintbrush
Measure & cut The wooden board:
– Measure The height & width of your dog, ensuring The door will be big enough for them To pass through comfortably.
– Use a saw To cut The wooden board according To your measurements.
Create The door opening:
– Determine The desired location for The dog door on your existing door or wall.
– Use a saw To carefully cut a rectangular opening, ensuring it is slightly larger than your dog’s size.
Attach The hinges & latch:
– Position The wooden board over The opening, aligning it correctly.
– Secure The hinges To The wooden board & The door or wall, allowing The door To swing freely.
– Install a door latch To keep The dog door closed when needed.
Sand & paint:
– Use sandpaper To smooth out any rough edges or surfaces.
– Apply a coat of paint or stain To The wooden board, adding a touch of personality if desired.
Allow proper drying time:
– Ensure The paint or stain is completely dry before allowing your furry friend To use The dog door.
Remember, building a DIY dog door requires precision & careful attention To detail. Keep your furry friend’s safety & comfort in mind throughout The process.
Conclusion
Building a DIY dog door for your furry friend’s easy access is not as challenging as it may seem. By following The guidelines provided in this article, you can create a convenient & safe entrance for your beloved pet with just a few simple tools & materials.
Using a conversational tone & avoiding complex terms, we have discussed The step-by-step process of building a dog door. Remember To carefully measure your dog’s size & decide on The location that suits your needs. Additionally, using durable & weather-resistant materials will ensure The door stands The test of time.
By implementing The proper safety precautions, such as adding a flap or lock mechanism, you can create a dog door that maintains security within your home. This allows your pet To move freely in & out of The house without sacrificing your peace of mind.


Building a DIY dog door not only provides convenience for your furry friend but also gives you The opportunity To personalize it To match your home’s style & design. With a little effort & creativity, you can have an aesthetically pleasing dog door that seamlessly blends in with your décor.
So why wait? Start gathering The necessary materials, prepare your tools, & get ready To embark on this fulfilling DIY project. Your furry friend will appreciate The easy access To The outdoors & The freedom To come & go as they please. With a little bit of time & effort, you can create a wonderful addition To your home that will bring joy To both you & your four-legged companion for years To come.


