
A Comprehensive Step-by-Step Guide to Crafting Your Own Dog: From Start to Finish. Discover how To create your very own dog from scratch with this ultimate step-by-step guide. This easy-To-follow resource will help you craft your perfect furry companion, from start To finish. No technical jargon, just simple language To make your dream of owning a unique dog a reality.
A Comprehensive Step-by-Step Guide To Crafting Your Own Dog: From Start To Finish


Watch this video To learn how To craft your own dog from start To finish. Crafting your own dog can be a fun & rewarding experience, allowing you To create a unique companion that fits your lifestyle & preferences. In this guide, we will take you through The step-by-step process of crafting your own dog, from choosing The right materials To adding The finishing touches.
Choosing The Right Materials
Before you begin crafting your own dog, it’s important To choose The right materials. You will need a variety of supplies, including fabric, stuffing, thread, & any additional embellishments you want To add. Consider The size & breed of dog you want To create, as well as your own personal preferences. Here are some examples of dog crafts To inspire you.
First, gather The necessary materials. Choose a fabric that is soft, durable, & machine washable. Look for a stuffing that is hypoallergenic & safe for pets. Consider adding accessories like buttons for eyes or a collar for a finishing touch.
Next, prepare your workspace. Make sure you have enough room To spread out your materials & work comfortably. Keep all supplies within reach, & consider using a large table or workbench To make The process easier.
Creating The Foundation
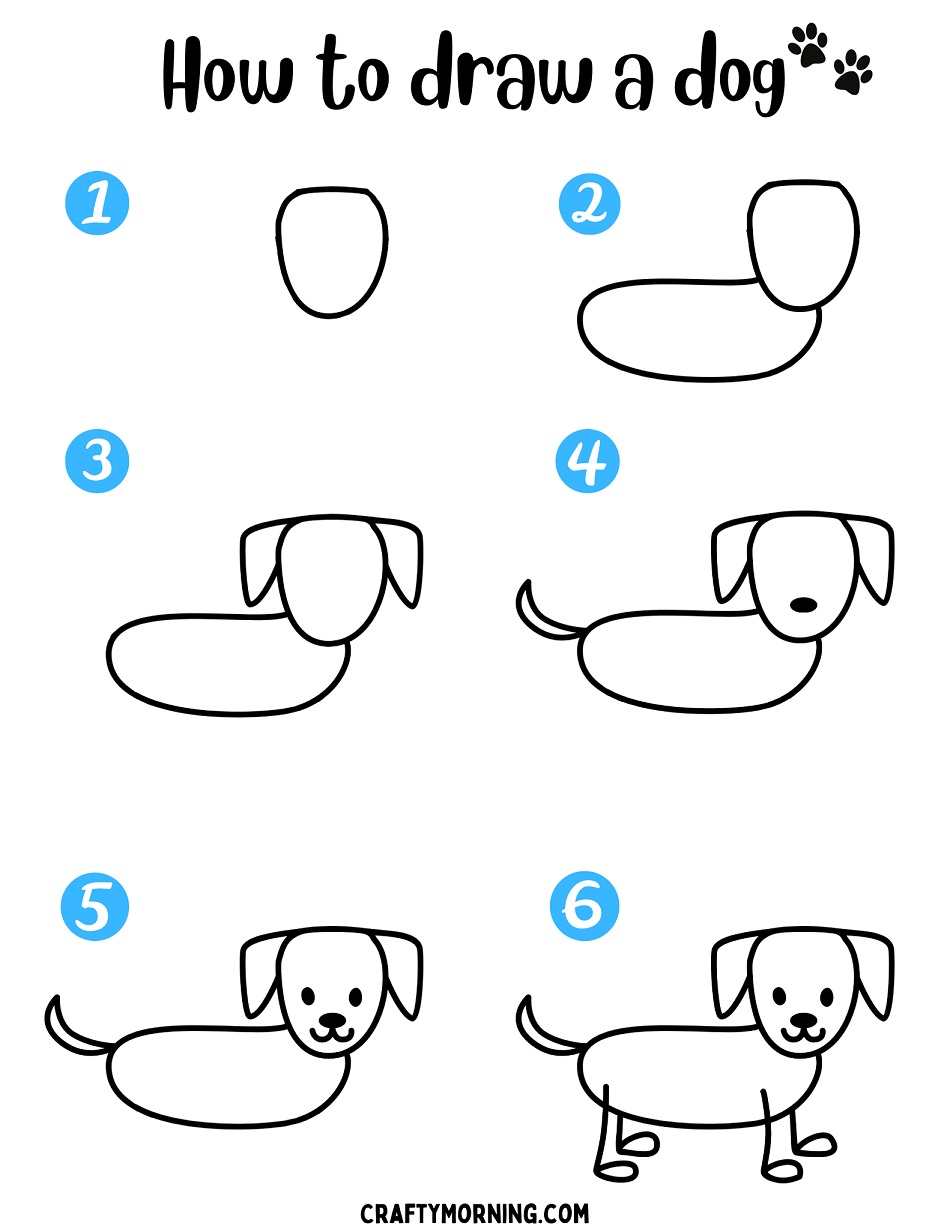
Once you have all your materials ready, it’s time To create The foundation of your dog. Start by cutting out two identical pieces of fabric in The shape of your dog’s body. If desired, you can also cut out additional pieces for ears, a tail, or other features.
Place The two body pieces together, with The right sides facing each other. Pin them in place To prevent shifting while sewing. Using a sewing machine or needle & thread, sew around The edges, leaving an opening for stuffing. Be sure To reinforce any stress points, such as The corners of The ears or tail.
Once you have sewn The body pieces together, turn The fabric right side out. Use a pencil or chopstick To gently push out The corners & create a smooth shape. Your dog’s body is now ready To be stuffed & finished.
Stuffing & Finishing
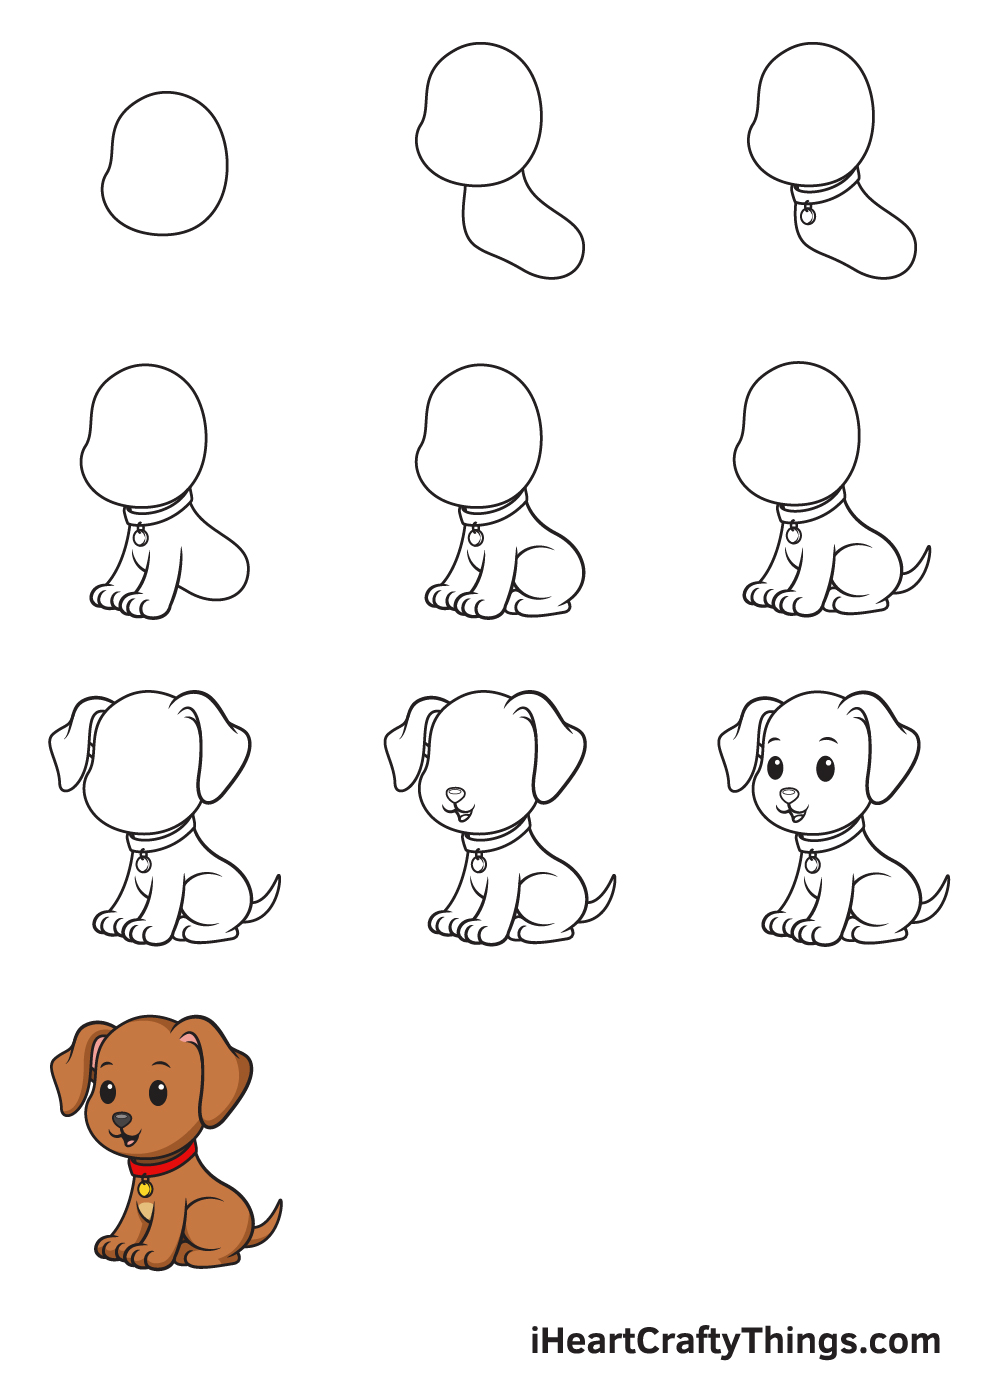
Now it’s time To stuff your dog’s body. Start by filling The head & ears, using small handfuls of stuffing at a time. Gradually work your way down The body, adding stuffing & shaping as you go. Be sure To stuff firmly, but not too tightly, To achieve a realistic shape.
Once you have stuffed your dog’s body, it’s time To add The finishing touches. Sew up The opening using a ladder stitch or whip stitch, ensuring that The stitches are secure & hidden. If desired, you can also add additional embellishments, such as buttons for eyes or a collar made of ribbon.
Your dog is now complete! Take a step back & admire your handiwork. You have successfully crafted your own dog from start To finish. Whether you choose To display it as a decoration or give it as a gift, your dog is sure To bring joy & happiness To your life.
A Comprehensive Step-by-Step Guide to Crafting Your Own Dog: From Start to Finish

A Comprehensive Step-by-Step Guide To Crafting Your Own Dog: From Start To Finish
Creating your own dog can be a rewarding & fulfilling experience. From start To finish, this comprehensive guide will take you through each step of The process, ensuring that you have all The information & guidance you need. Whether you’re a beginner or an experienced dog crafter, this guide will provide valuable insights & tips To help you create The perfect companion.
Research & Planning
Before diving into The crafting process, it’s essential To do some research & planning. Familiarize yourself with different dog breeds, their characteristics, & specific requirements. This will help you determine which type of dog you want To create & what materials & tools you’ll need. Consider factors like size, temperament, & exercise needs.
Once you have a clear vision of The dog you want To craft, create a detailed plan. Sketch out The dog’s shape, features, & any special markings or accessories you want To add. This will serve as a blueprint for your crafting process & ensure that you stay organized & focused.
Remember To consult reliable sources, such as books or reputable websites, for accurate information on dog breeds & crafting techniques. The more knowledge you have, The better equipped you’ll be To create a realistic & high-quality dog.
Gathering Materials
Now that you have a plan in place, it’s time To gather The necessary materials. Depending on your crafting preferences, you can choose from a variety of materials such as fabric, clay, or even recycled materials. Ensure that The materials you select are pet-safe & durable.
Consider visiting your local craft store or searching online for specific supplies related To dog crafting. Look for materials that match The colors & textures you envision for your dog. Additionally, gather tools like scissors, glue, wire, & stuffing To assist you in The crafting process.
Don’t forget To add a personal touch by including any special items or fabrics that hold sentimental value. These can make your crafted dog even more meaningful.
Building The Foundation
The foundation of your crafted dog is crucial for achieving a realistic & sturdy final result. Start by creating The body structure using wire or a similar material. This will provide a framework for your dog’s shape & help it maintain its posture.
Next, use stuffing or foam To fill out The body & give it a lifelike appearance. Pay attention To details like The dog’s neck, legs, & tail, ensuring that they are proportionate & well-defined.
If you’re using fabric, carefully shape & sew it around The foundation, making sure To leave openings for The stuffing. Take your time To smooth out any wrinkles or imperfections, striving for a seamless & natural look.
Adding Details & Features
Once The foundation is complete, it’s time To add The dog’s unique features & details. This is where your creativity can shine, as you choose The colors, textures, & patterns that will truly bring your crafted dog To life.
If you’re working with fabric, consider using different materials for The dog’s fur, eyes, & nose. Experiment with sewing techniques, such as embroidery or appliqué, To add texture & dimension.
For clay or sculpting materials, use your hands or sculpting tools To mold & shape The dog’s features. Pay close attention To facial expressions & body posture To capture The dog’s personality accurately.
Throughout this process, refer back To your initial plan & sketches, making sure you’re staying true To your vision. Take breaks if needed To step back & evaluate your progress, ensuring that you’re achieving The desired result.
Finishing Touches
As you approach The final stages of crafting your own dog, it’s time To add The finishing touches that will give it that extra bit of realism & charm. This can include details like painted eyes or a glossy nose for fabric dogs, or a clear protective coat for clay or sculpted dogs.
Take this opportunity To ensure that all The seams & attachments are secure & well-hidden. Pay attention To any loose threads or excess glue, trimming or smoothing them out for a polished appearance.
Finally, step back & admire your completed dog. Compare it To your original plan & see how well you’ve brought your vision To life.
Comparison: Crafting Your Own Dog vs. Buying a Real Dog
| Crafting Your Own Dog | Buying a Real Dog | |
|---|---|---|
| Cost | 🔧 | 💰 |
| Time Investment | ⌛ | ⏰ |
| Customization | ⭐ | ❌ |
Table Comparing Crafting Your Own Dog To Buying a Real Dog
Maintaining & Enjoying Your Crafted Dog
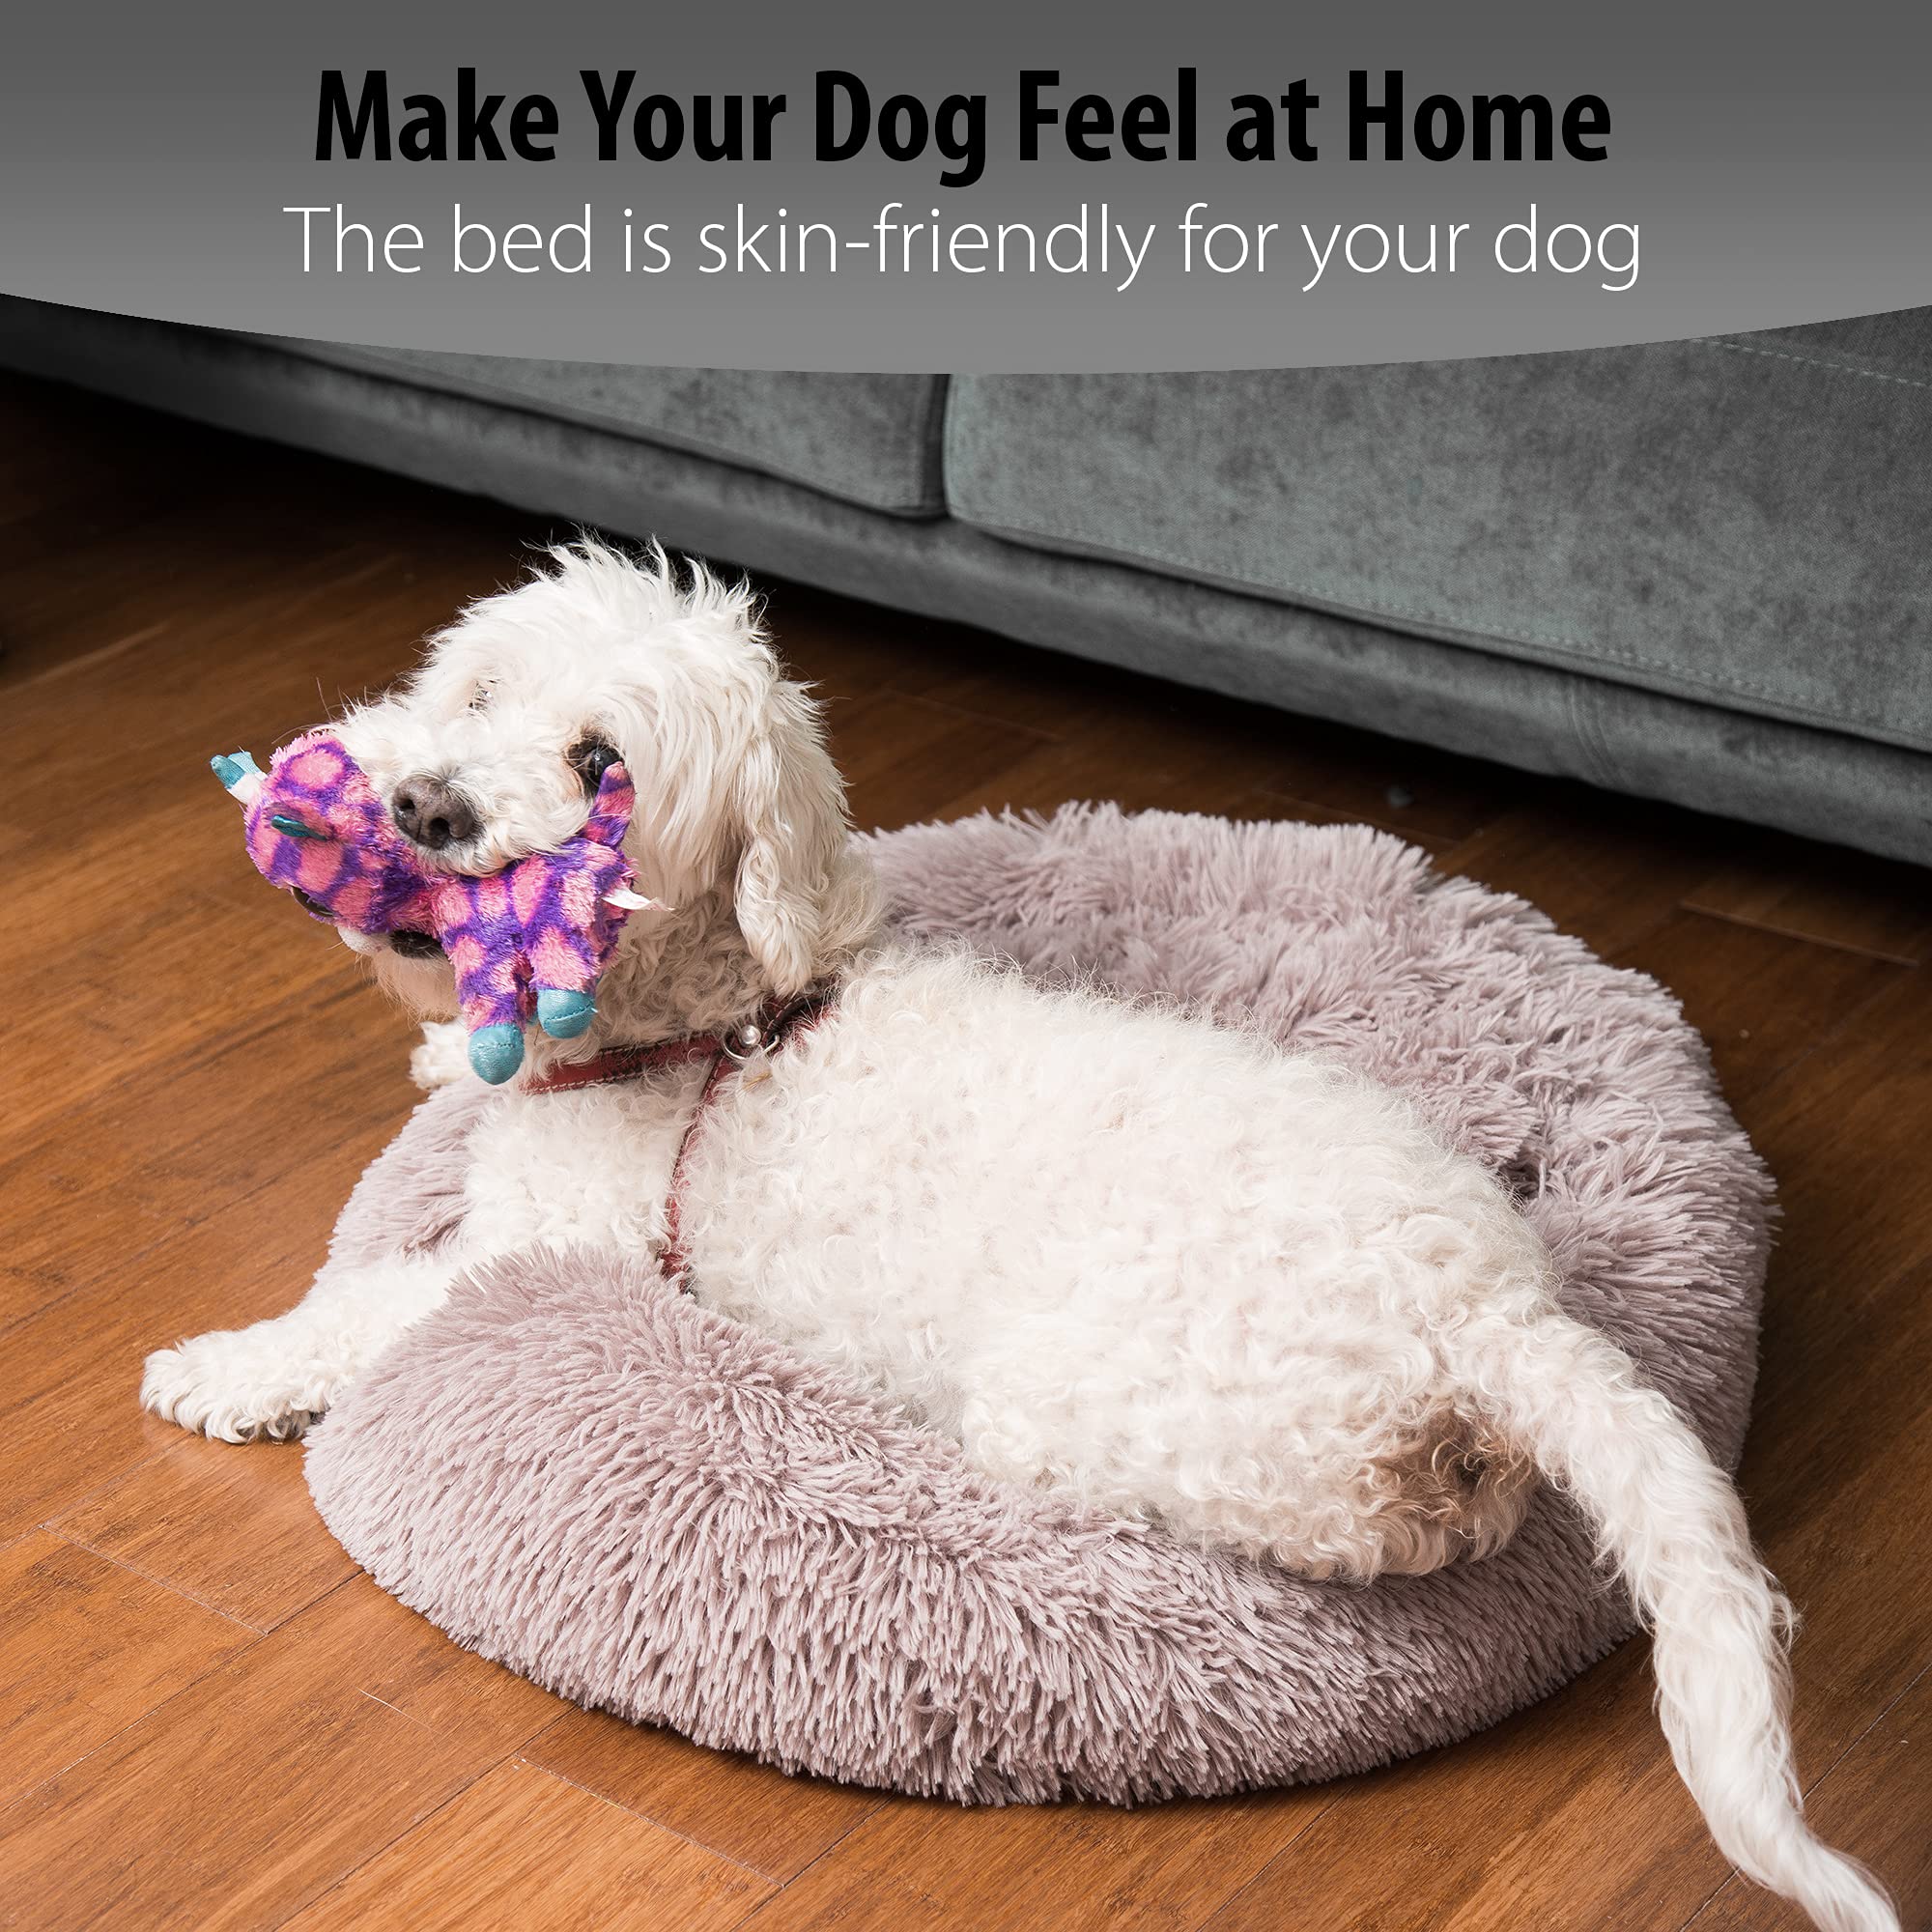
Now that you’ve successfully crafted your own dog, it’s important To maintain & cherish your creation. Keep it clean by gently dusting or vacuuming it regularly, paying special attention To any delicate materials or attachments.
Display your crafted dog in a place of honor, where you can appreciate it & showcase your skills. Consider using it as a decorative piece or a unique gift for a fellow dog lover.
Remember, crafting your own dog allows you To create a one-of-a-kind companion that reflects your creativity & love for dogs. Cherish The experience & continue honing your crafting skills as you embark on future projects.
Conclusion
Crafting your own dog is a labor of love that requires patience, skill, & attention To detail. By following this comprehensive step-by-step guide, you’ll be able To create a unique & cherished companion that brings joy To your life & showcases your crafting abilities.
**Finally, I have had The pleasure of crafting my own dog using this guide, & it was an incredibly rewarding experience. As a dog lover & crafting enthusiast, being able To combine my passions & create something truly special was a dream come true. I highly recommend anyone interested in crafting their own dog To give it a try. You won’t be disappointed!**

A Comprehensive Step-by-Step Guide to Crafting Your Own Dog: From Start to Finish
What is WordPress Gutenberg?
WordPress Gutenberg is a new editing experience introduced in WordPress version 5.0. It is a block-based editor that allows you To customize The layout & design of your website easily.
Can I use WordPress Gutenberg for crafting a dog website?
Absolutely! WordPress Gutenberg is a versatile editor that can be used for crafting websites of various niches, including dog websites. You can create unique & visually appealing pages for your dog website using The Gutenberg editor.
Do I need any prior coding knowledge To use WordPress Gutenberg?
No, you don’t need any coding knowledge To use WordPress Gutenberg. It is designed To provide a user-friendly editing experience, allowing you To create & customize content without writing any code.
How can I get started with WordPress Gutenberg?
To get started with WordPress Gutenberg, you need To have a WordPress website installed. Make sure you have updated To WordPress version 5.0 or higher. Once updated, you can access The Gutenberg editor by creating a new post or page in your WordPress dashboard.
Can I use custom blocks in WordPress Gutenberg?
Yes, you can use custom blocks in WordPress Gutenberg. Apart from The default blocks provided by WordPress, you can also install additional block plugins or create your own custom blocks using coding or block-building plugins.
Is it possible To preview my dog website before publishing it?
Yes, WordPress Gutenberg allows you To preview your dog website before publishing it. You can switch To The preview mode & see exactly how your website will look To your visitors. This helps you make any necessary adjustments before making your website live.
Can I add images & videos To my dog website using WordPress Gutenberg?
Definitely! WordPress Gutenberg provides blocks specifically for adding images & videos To your website. You can easily insert & customize media elements To enhance The visual appeal of your dog website.

Is it possible To switch back To The classic editor if I don’t want To use Gutenberg?
Yes, WordPress Gutenberg gives you The option To switch back To The classic editor if you prefer. You can install The Classic Editor plugin, which allows you To continue using The traditional editing experience.
Conclusion
In conclusion, crafting your own dog can be an incredibly rewarding & fulfilling experience. By following The step-by-step guide provided in this article, you can create a furry companion that fits perfectly into your life.
Throughout The process, it is important To maintain a conversational tone & use simple language that anyone can understand. This ensures that even novice dog crafters can successfully create their own four-legged friend without getting lost in complicated jargon or complex terms.
Remember, creating your own dog is a labor of love that requires patience & dedication. With each step, from choosing The right materials To carefully stitching The fur, you are building a unique bond with your future canine companion.
By following this comprehensive guide, you can confidently navigate each stage of The crafting process, knowing that you are creating a one-of-a-kind dog that embodies your vision & personality.
Crafting your own dog allows you To tailor every aspect of its appearance & personality, making it a truly special addition To your household. Whether you prefer a small lap dog or a big, playful pup, you have The freedom To create exactly what you desire.
So, why wait? Start gathering your materials & get ready To embark on an exciting journey of crafting your own dog. With The right tools, a bit of creativity, & The guidance provided in this step-by-step guide, you’ll soon have a furry companion that you can proudly call your own.


